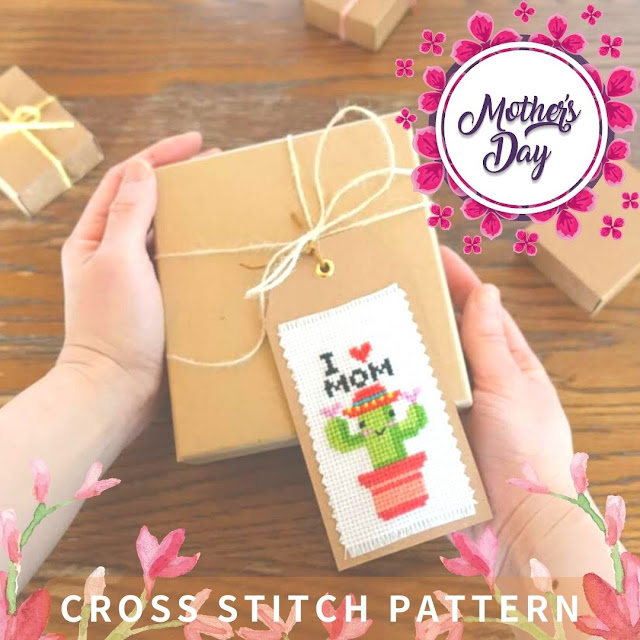
Make a cross-stitch gift tag and give a gift to someone you love! They will surely be happy to receive them.
How do you make a gift tag?
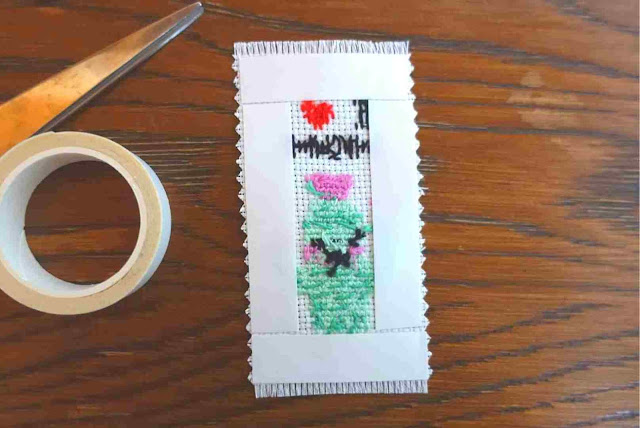
Here is the easiest way to make a cross stitch gift tag. Once you're done stitching the cross-stitch, just cut the fabric and tape it to the gift tag with double-sided tape!
It is very easy to complete😊
MATERIALS & TOOLS
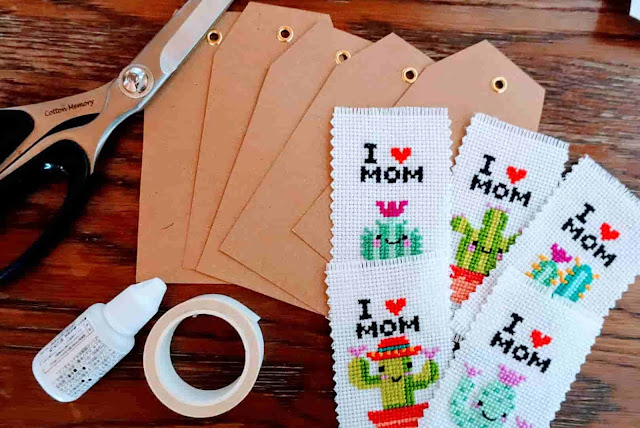
- Your stitched patch
- Gift tags (2.625" x 5.25" or 6.7cm x 13.3cm) (You can choose your own favorite tag size for your design!)
- Double-sided tape or glue
- Fray check
- Pinking scissors
- Scissors
INSTRACTIONS
1. Iron the fabric
For a beautiful finish, iron it by all means😄
Place a towel on the ironing board and put the finished with the back side up.
Next, place a thin towel on top of the finished. Then iron with plenty of steam.
2. Cut the fabric
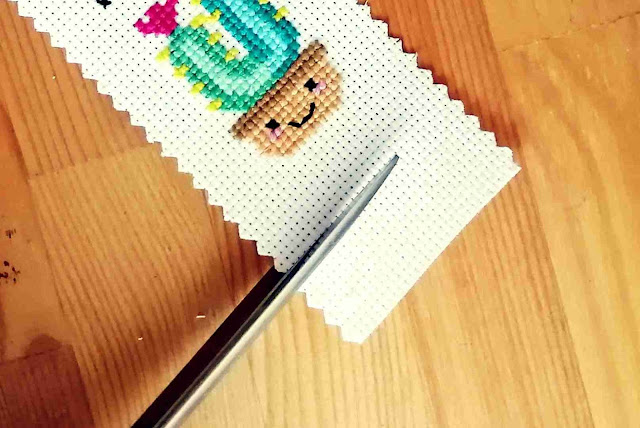
Cut out the both sides with pinking scissors along the outline for the gift tag.
Cut out the top and bottom lines with scissors along the outline.
3. Make fringes
To fringe the edges, remove two rows of weaving threads horizontally from the Aida fabric.
If you want to avoid fraying of the fabric, use a small amount of fray check around the fabric.


Comments